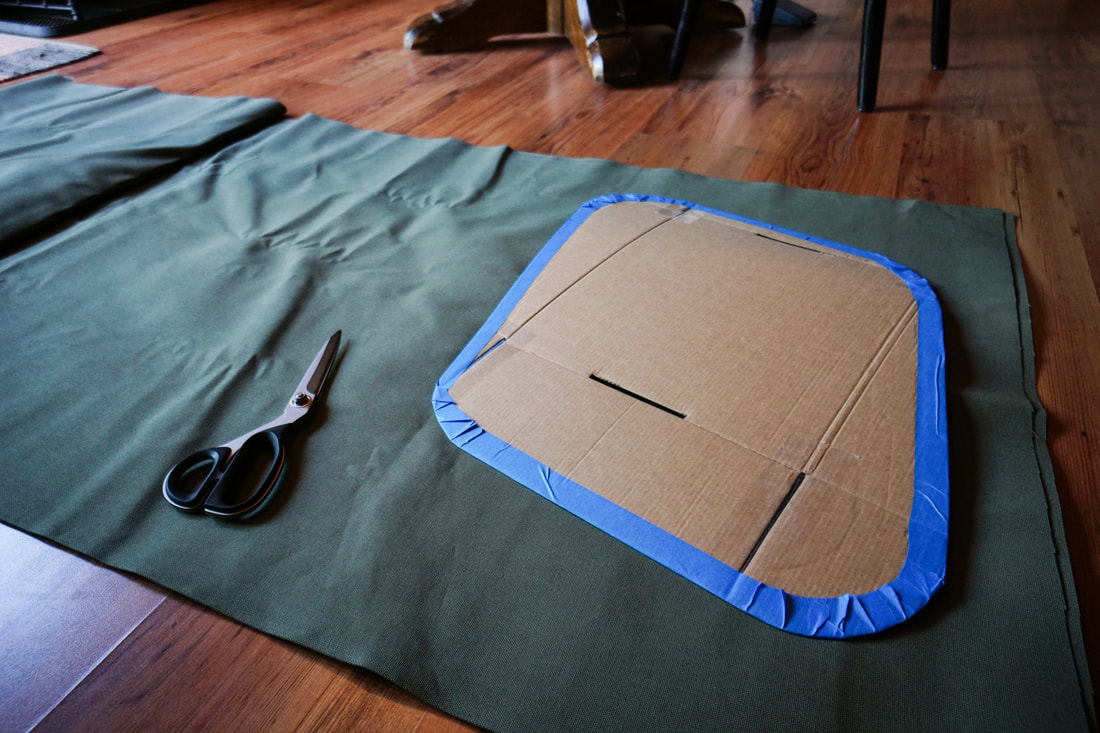
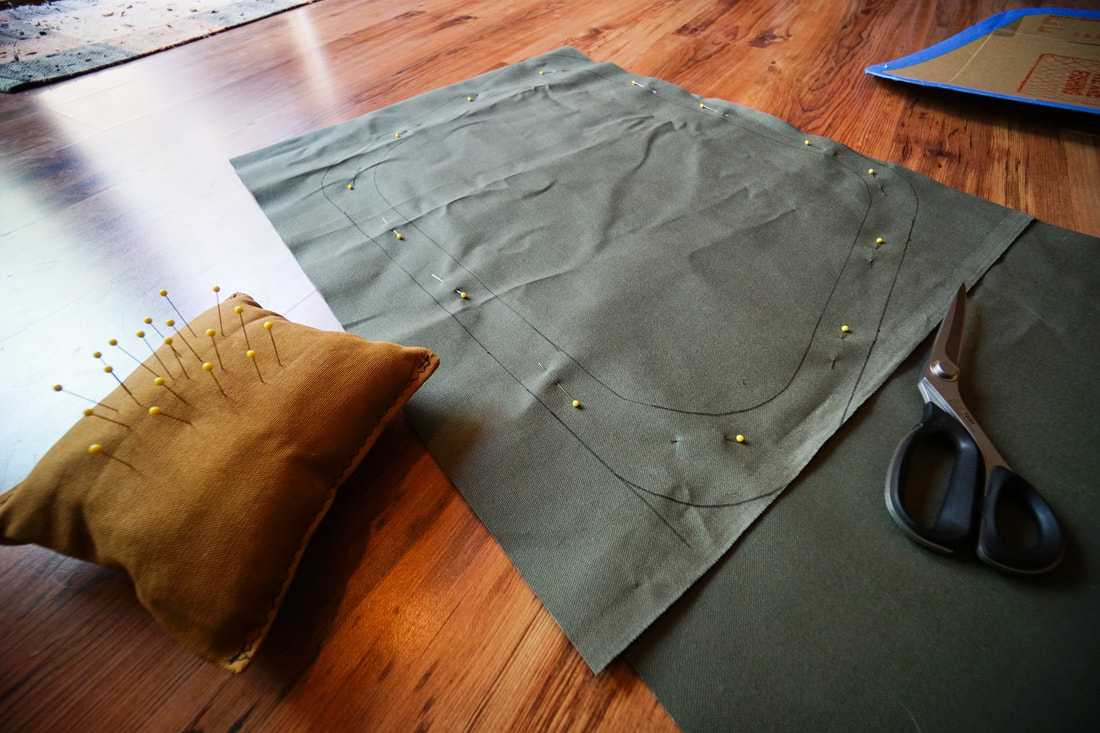
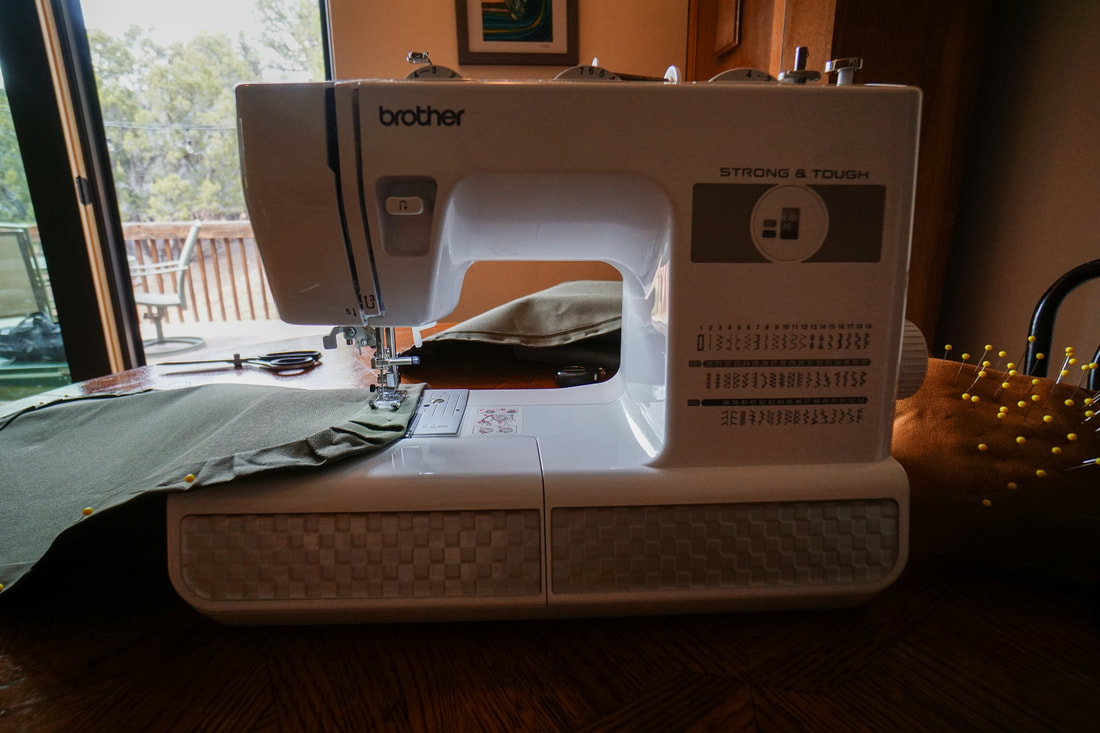
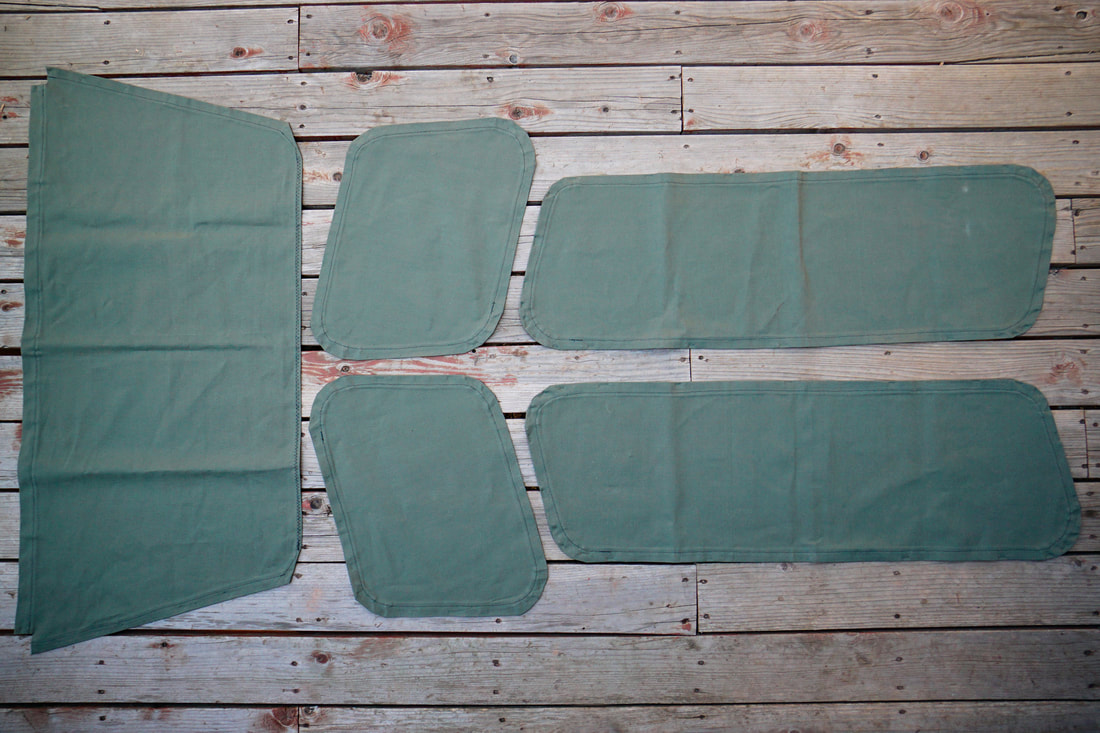
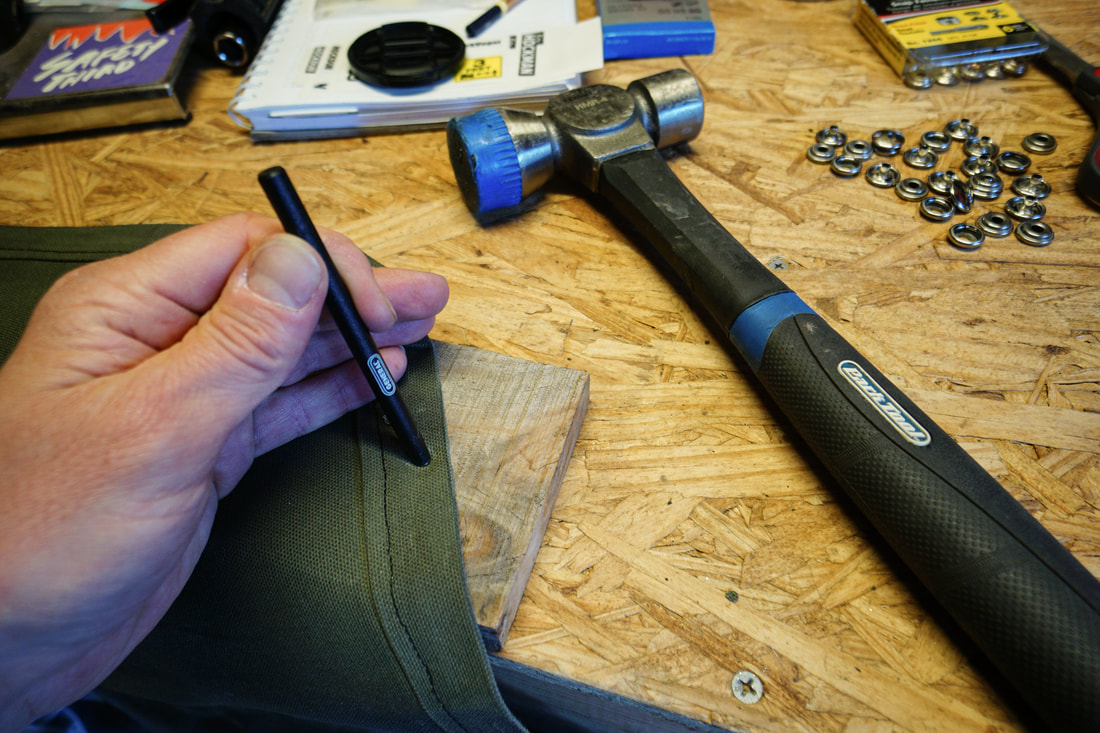
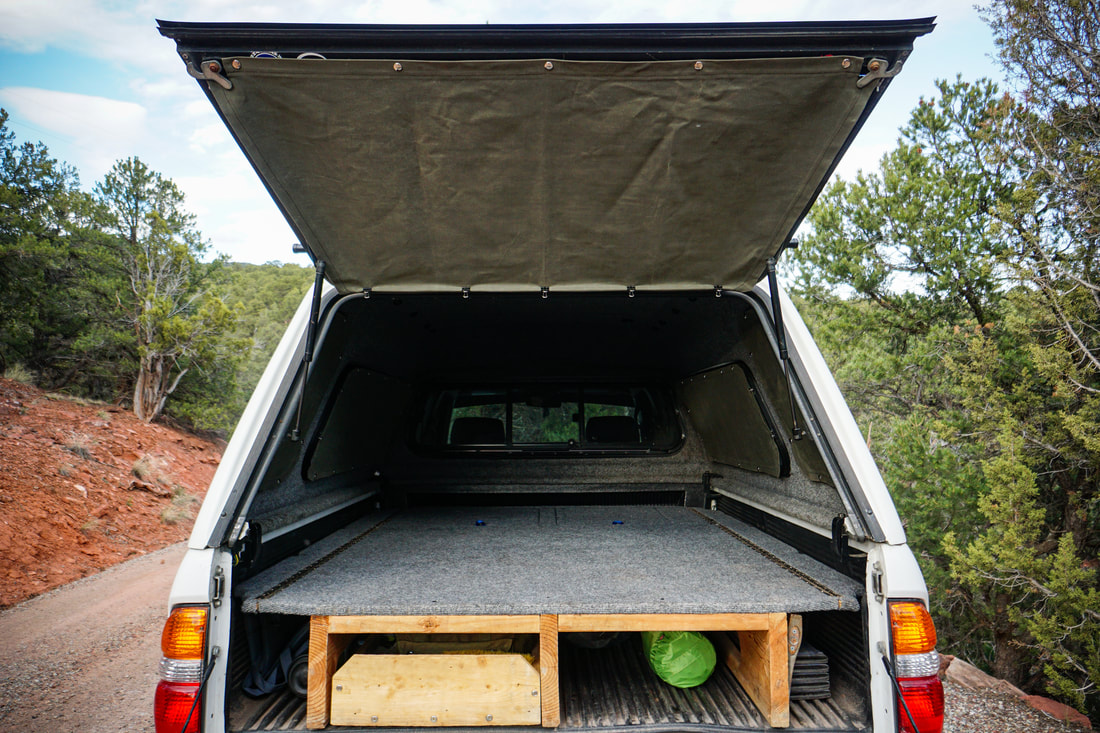
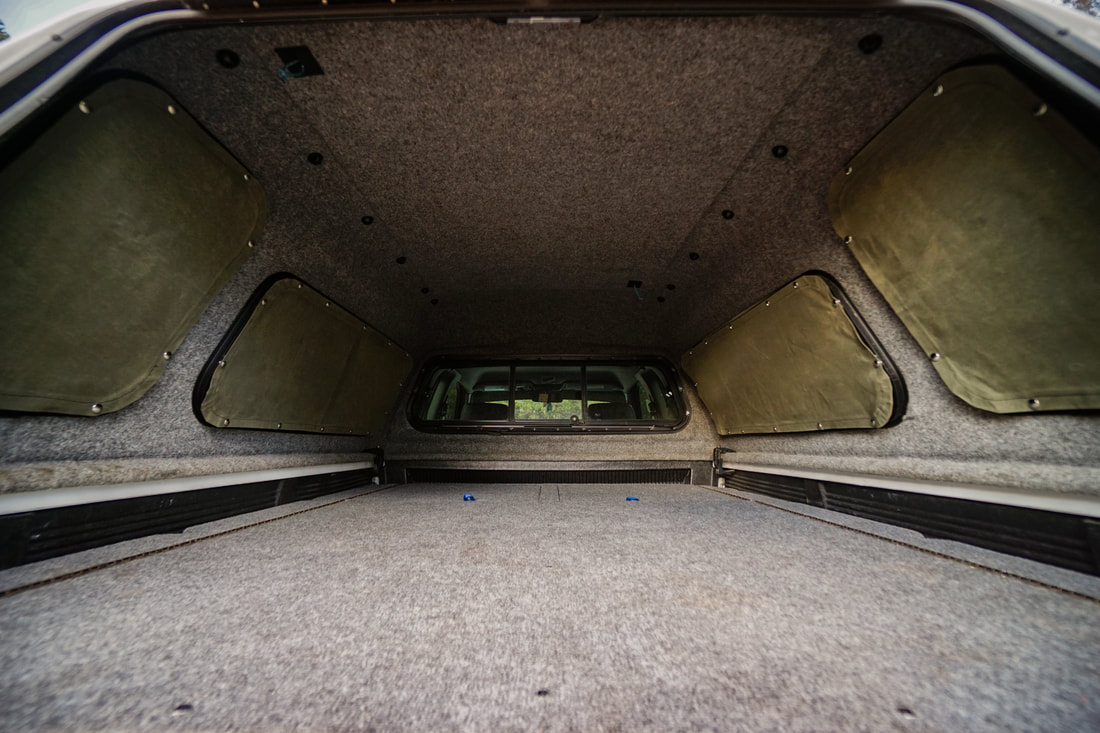
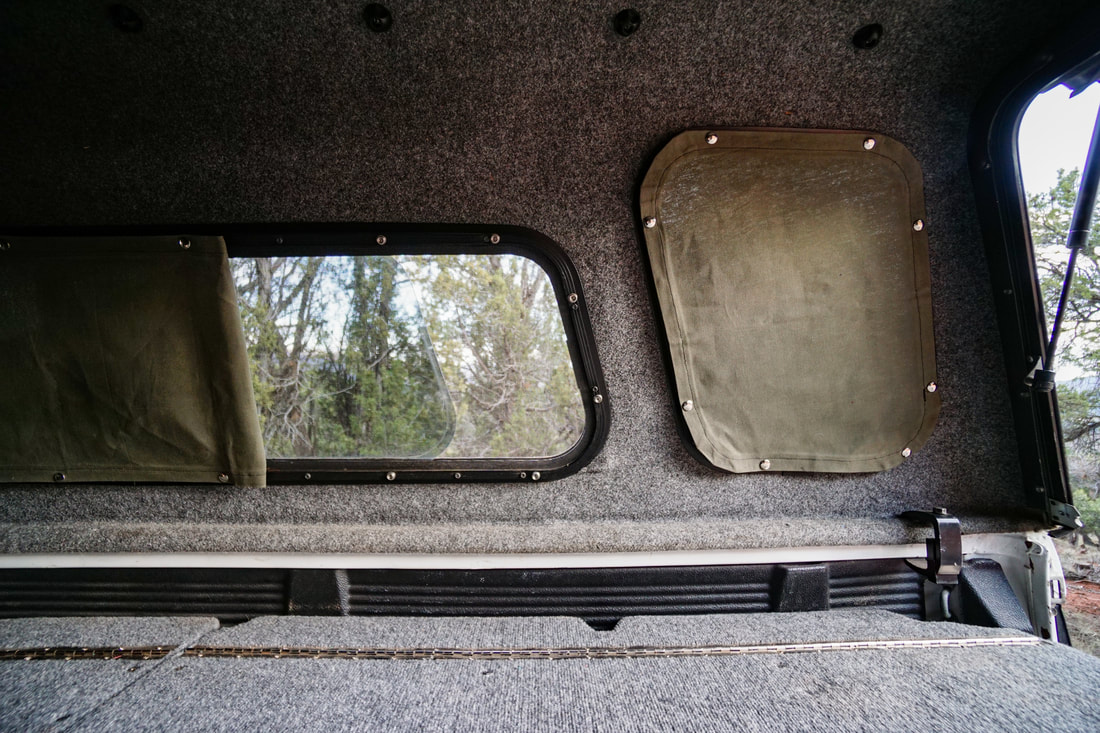
 Two years ago, my mom gave me a sewing machine for my birthday. I had asked for one so I could learn how to sew and add another tool and skillset to the arsenal. The machine patiently sat preserved in its box for the first year or so as life changes unfolded, leading to Donna and I uprooting ourselves from the Front Range and moving to the Western Slope. Once we moved into our now current place, I finally had an appropriate spot to set the machine up, so I pulled it out of its box and set the shiny new machine on a table in our little studio space. Fast forward another eleven months and the machine still remained untouched, collecting dust as it sat on the table waiting to be threaded and run once and for all. Back in 2015, I came up with an idea that was spawned from sleeping in the bed of my pickup truck while temporarily living in southern California. I had a topper with lightly tinted windows but no window covers for privacy which often instilled insecurity that I might get called out, or worse—towed away while sleeping—for boondocking along the bougie streets of Laguna Beach. So, once I returned to Colorado I went to the drawing board to come up with a solution. I wanted window covers that were durable, easily adjustable to allow the sliding windows in my topper to vent, and for them to be as low profile as possible as to not take up much space while installed or stowed away. I searched the web to see what other people were doing but nothing struck me as the right fit for what I wanted. So, I came up with my own design which utilized duck canvas and snaps to secure the covers precisely around the edges of the window frames in my topper. I didn't know how to sew at the time, so I enlisted the help of my mom and got to work on making the templates out of cardboard, then gathering the supplies I needed from the local fabric and hardware stores. Version one of the canvas window covers turned out great with the help of my mom, but eventually I sold that topper and found a raised one to provide more headroom in the bed of the truck. So went the window covers to the new owner and I was faced with needing to create version two of the time-tested design. Over the course of a week and a half, fiddling with my new sewing machine, remembering how my mom pinned and ironed the fabric, and retracing the same steps as I took to make the first covers, I dove into the project with an eager appetite to recreate my original design. The new ones are nearly identical to V1, but this time I decided to take them a step further by applying wax for added protection against the sun, moisture, and grime. Here's the step-by-step photo heavy DIY for you to feast your eyes on, and dare I say, have a go at making your own bespoke window covers. Measure twice, cut onceTemplates were made by simply pressing cardboard up against the inside of the window frames of the topper to get the exact curves of the windows, then cut out and trimmed with painters tape for a clean edge. The templates were then traced directly onto the duck canvas with an added 1.5" of material to be folded over for double layered fabric around the edges.
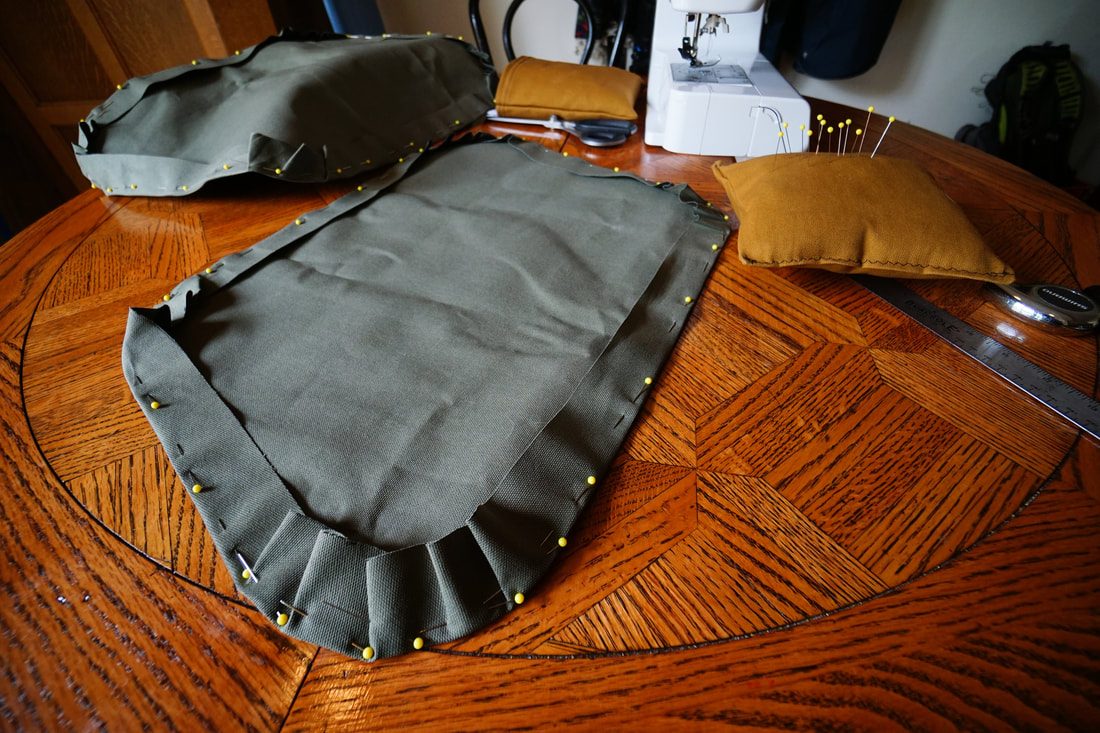
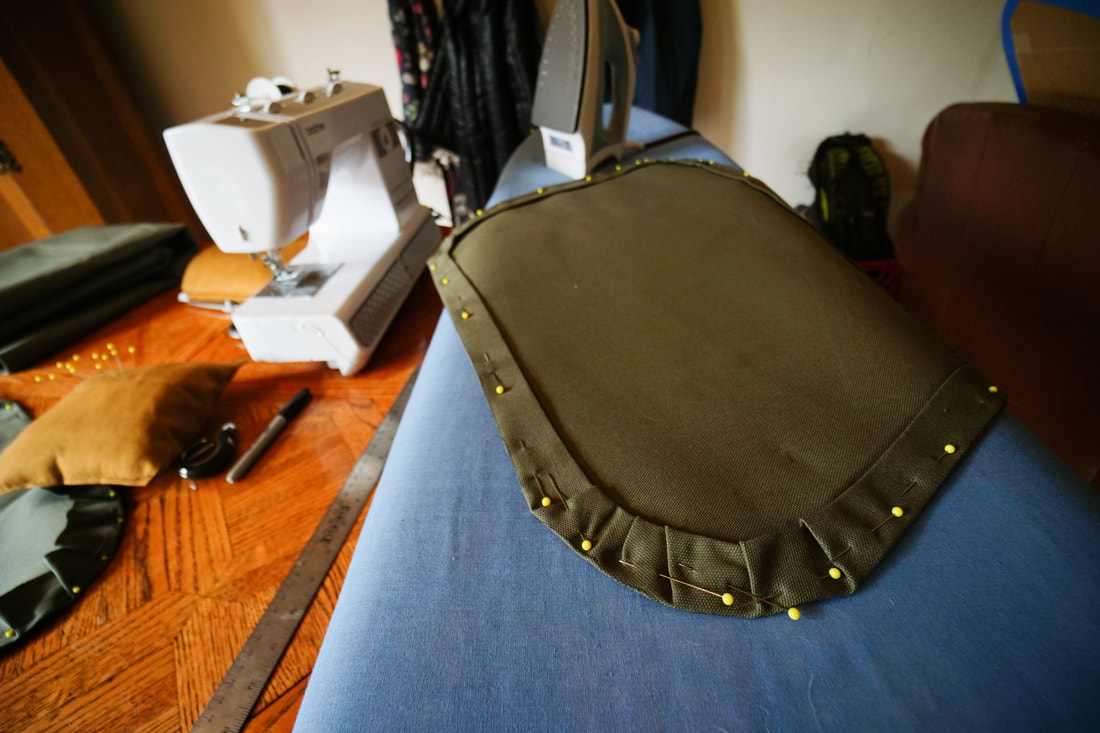
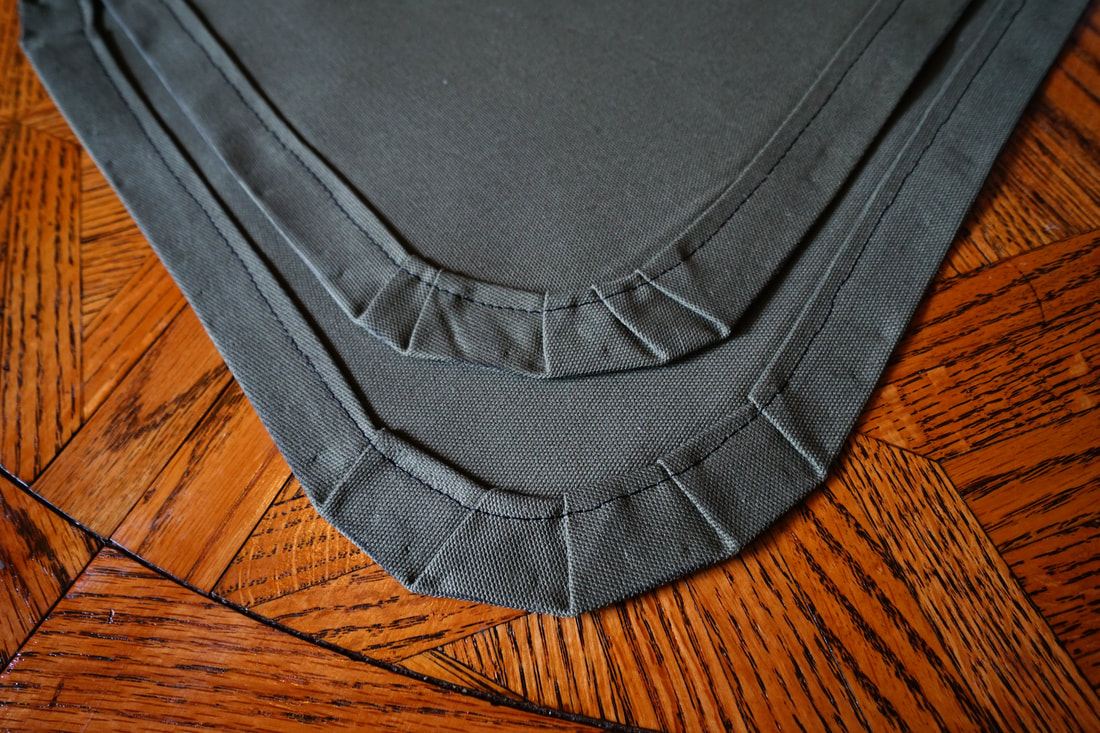
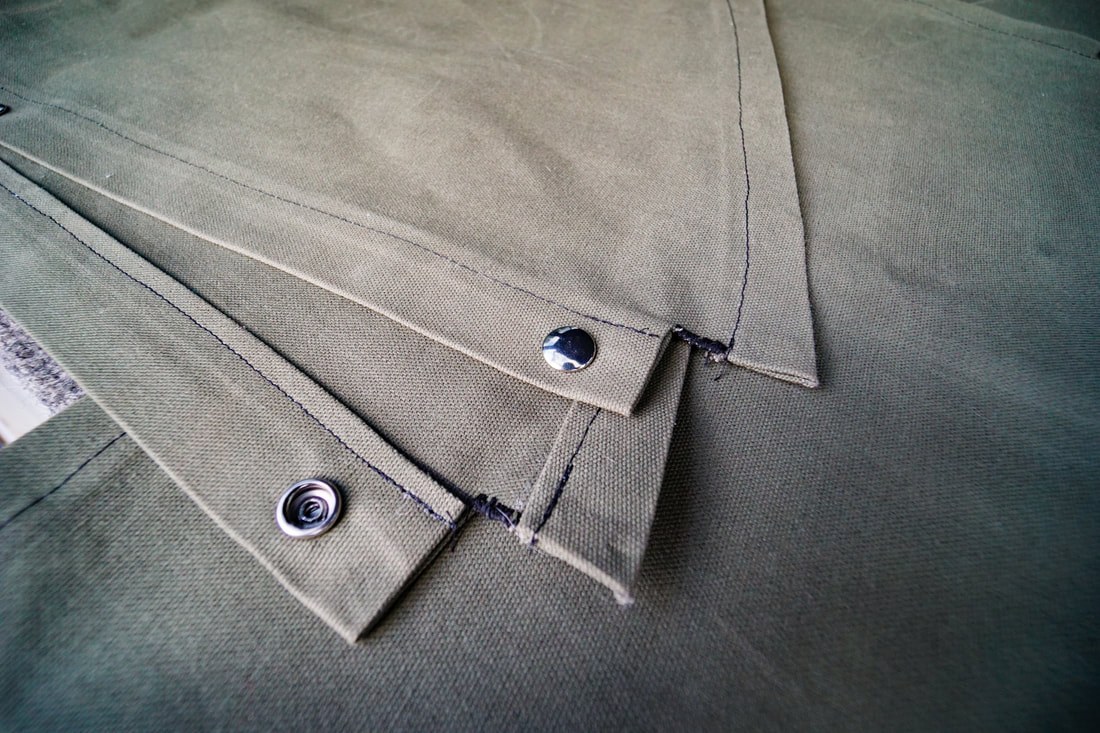
Pin it, steam it, stitch itThe corners were darted to make the curved corners smooth while quilting pins were used to keep everything in place while folding the unfinished edges beneath and ironing to get the material to lay flat and smooth. Duck canvas does a pretty good job of holding its shape simply by ironing it.
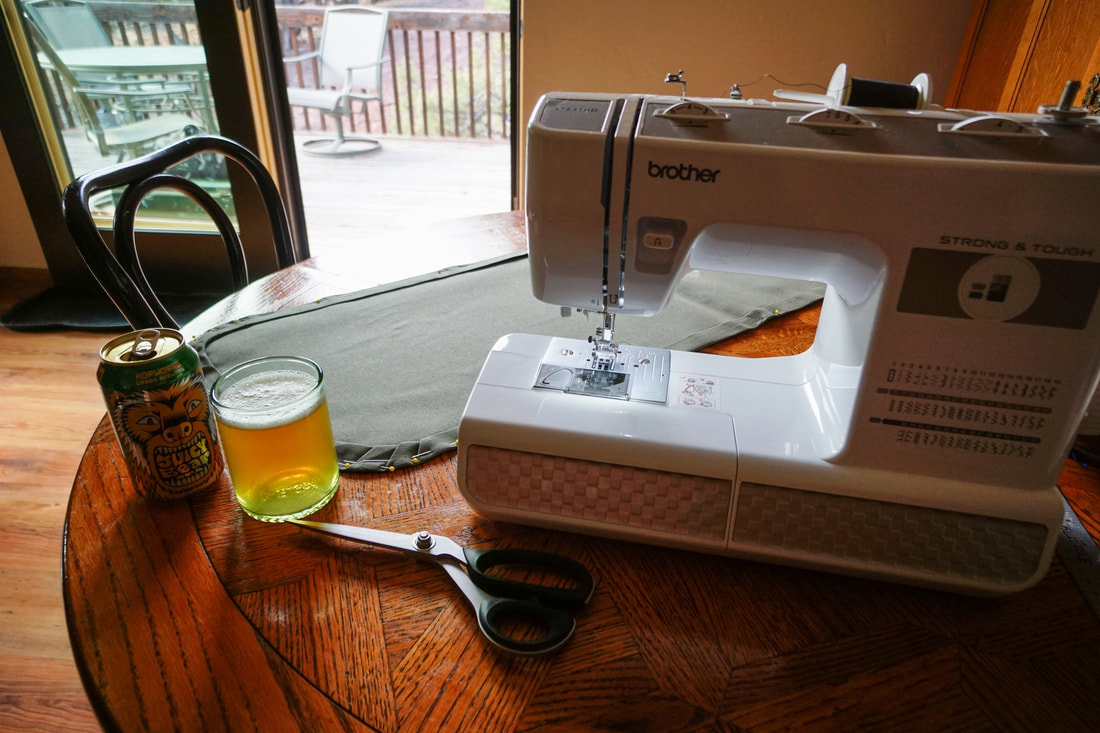
Sew, sip, repeatAs with any good project, a little liquid courage is helpful to keep things running smoothly. Having a brew half-way through the tedious steps of pinning, ironing, and sewing provided a nice boost for getting the job done. Don't mind the crooked seam here and there...
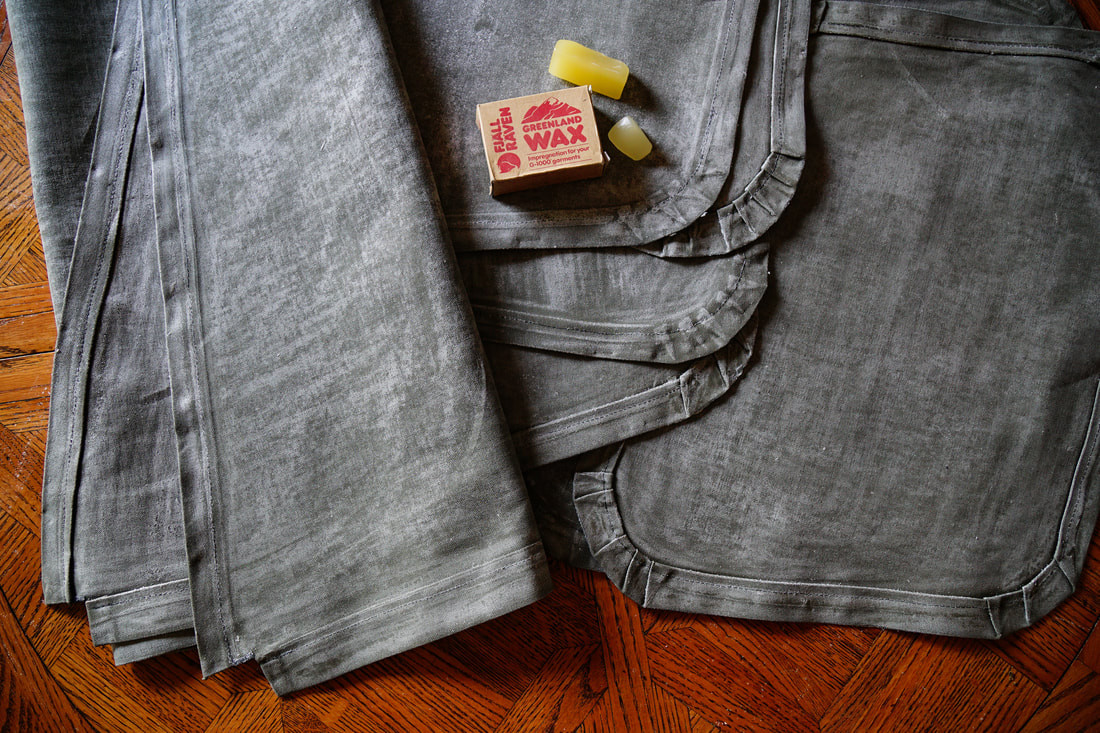
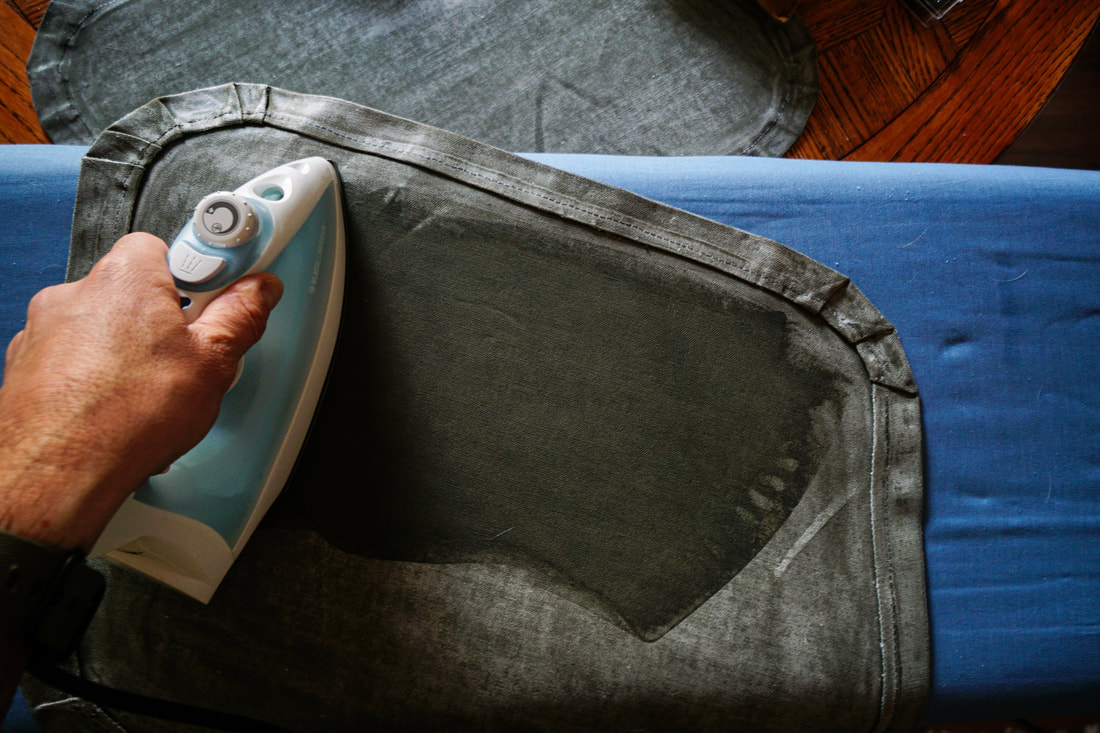
wax it upThere are a few different options out there for wax to treat canvas material. In the past I've used Otter Wax but this time I opted to use Fjällräven's Greenland Wax which is used to weatherproof G-1000, a waxable cotton/poly material found in many of their garments and bags. Application is simple—just rub the bar with long strokes into the material then use a dry iron or hair dryer to melt the wax into the fibers. It gives the material a rich look and provides protection against moisture, sun, and grime. O.G. waterproofing at its finest.
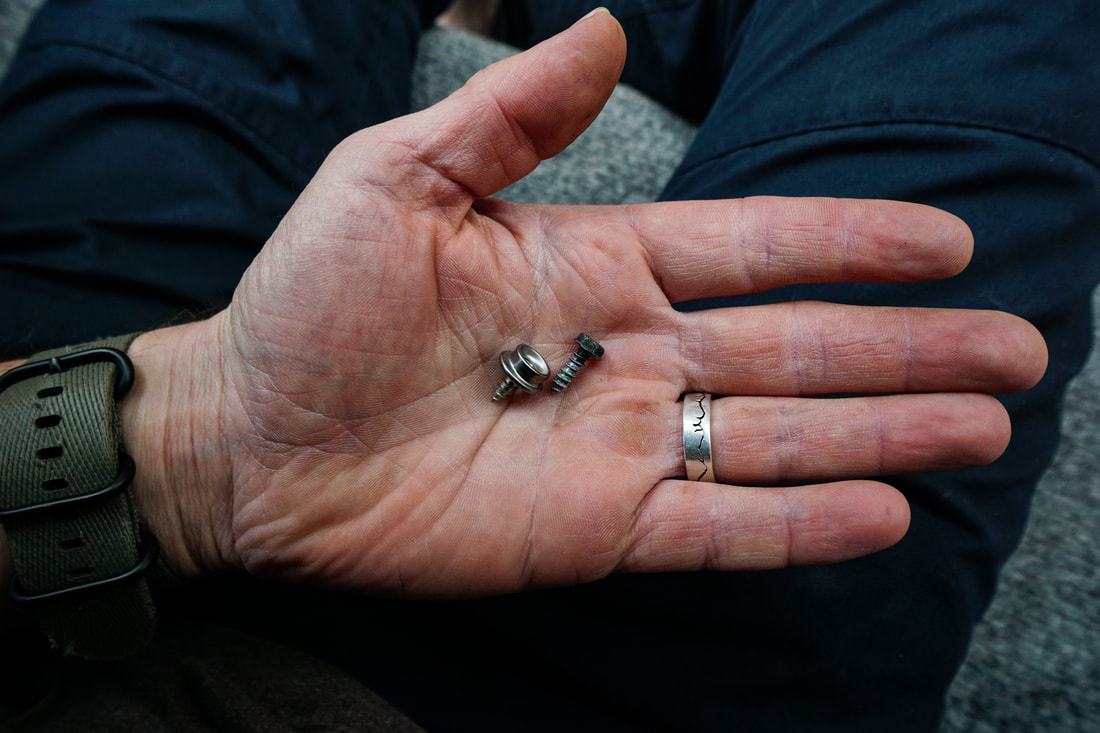
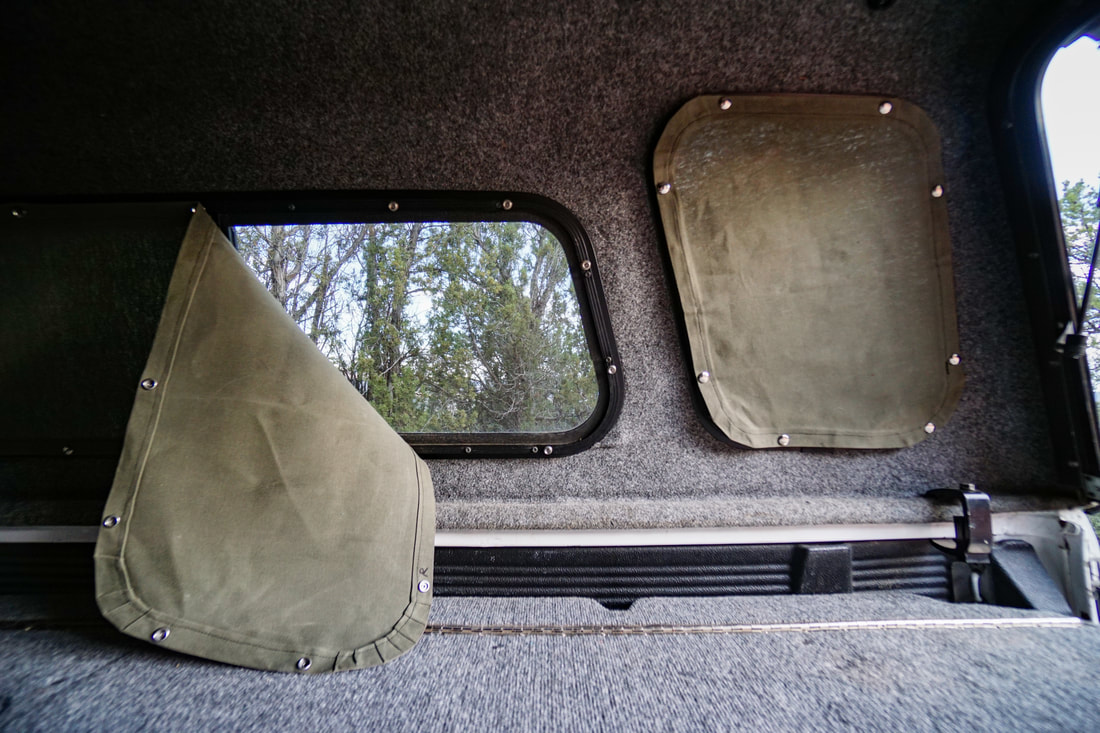
Nuts & boltsDo your research and find the solution that works best for the configuration you desire. Some people use magnets, others have used Velcro. I found threaded snap heads that could be screwed into the existing hole of the factory hardware holding the window frames together. In some cases I had to drill a new hole to get the placement just right, but they were simple to thread in by hand with a screw driver and provide a super secure connection to the window frames.
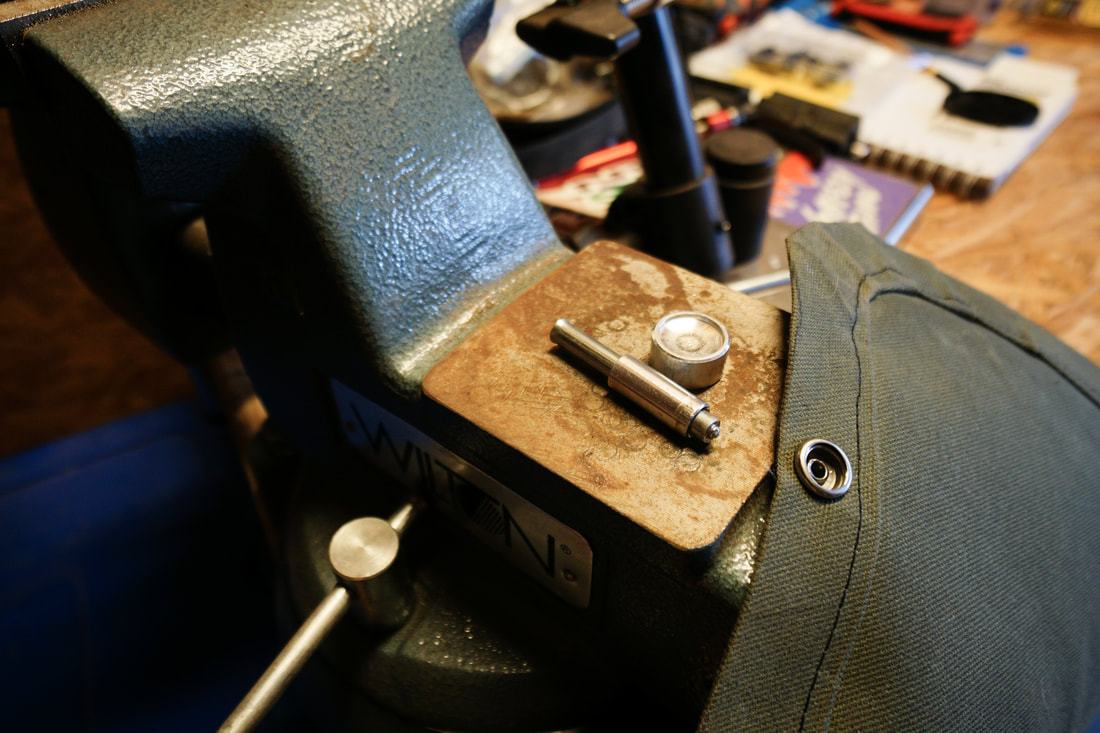
stop... hammer timeFiguring out a process is the name of the game with this project. Installing snaps properly to keep the fabric taught across the windows requires attention to detail and isn't something that can be rushed. You've got to mark each snap accurately, use a punch to cleanly place the hole, then hammer each snap one-by-one with a special setting tool. It's a labor of love, but it's worth it in the end.
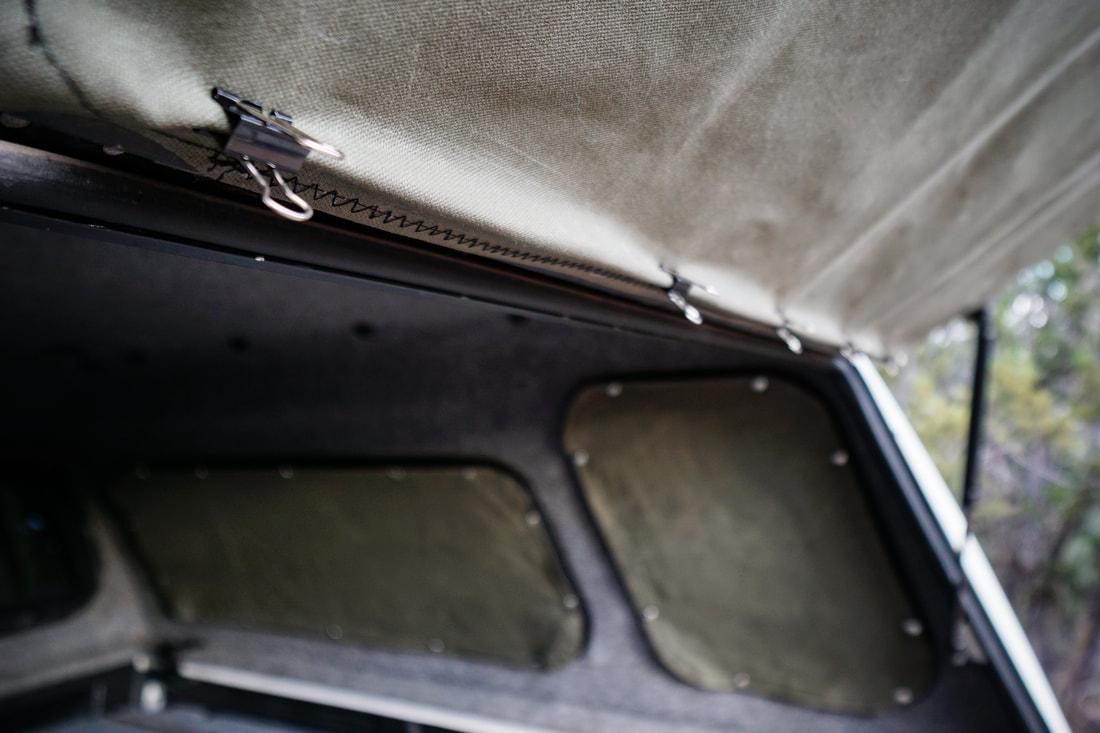
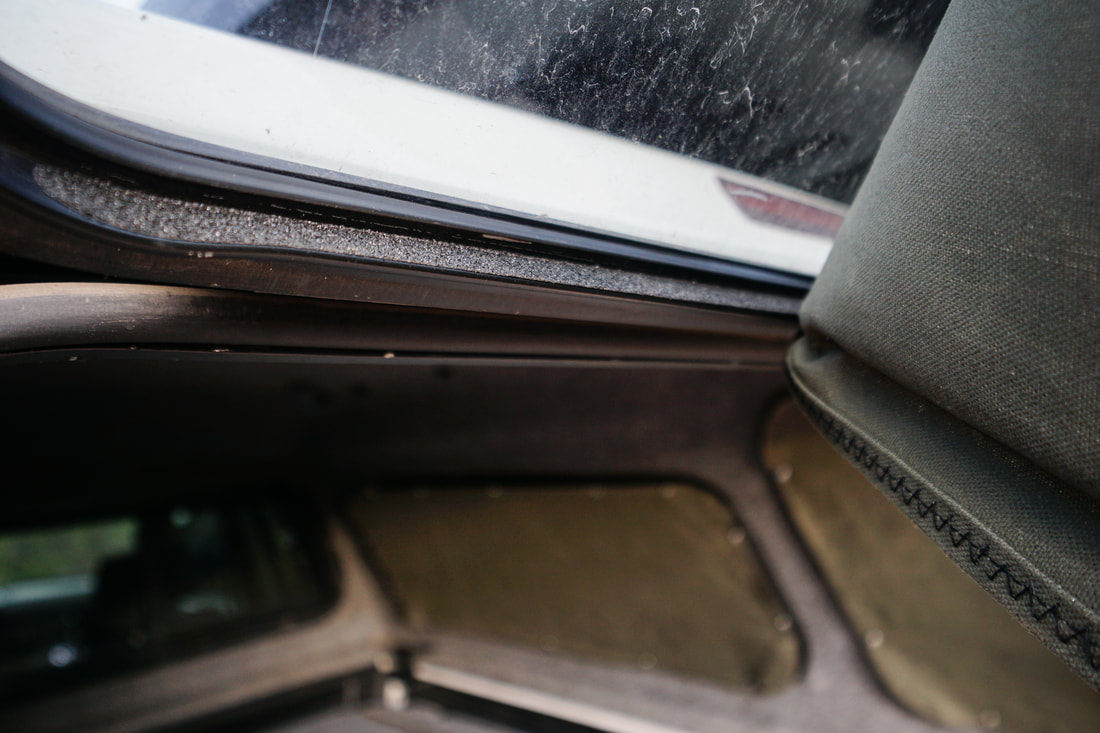
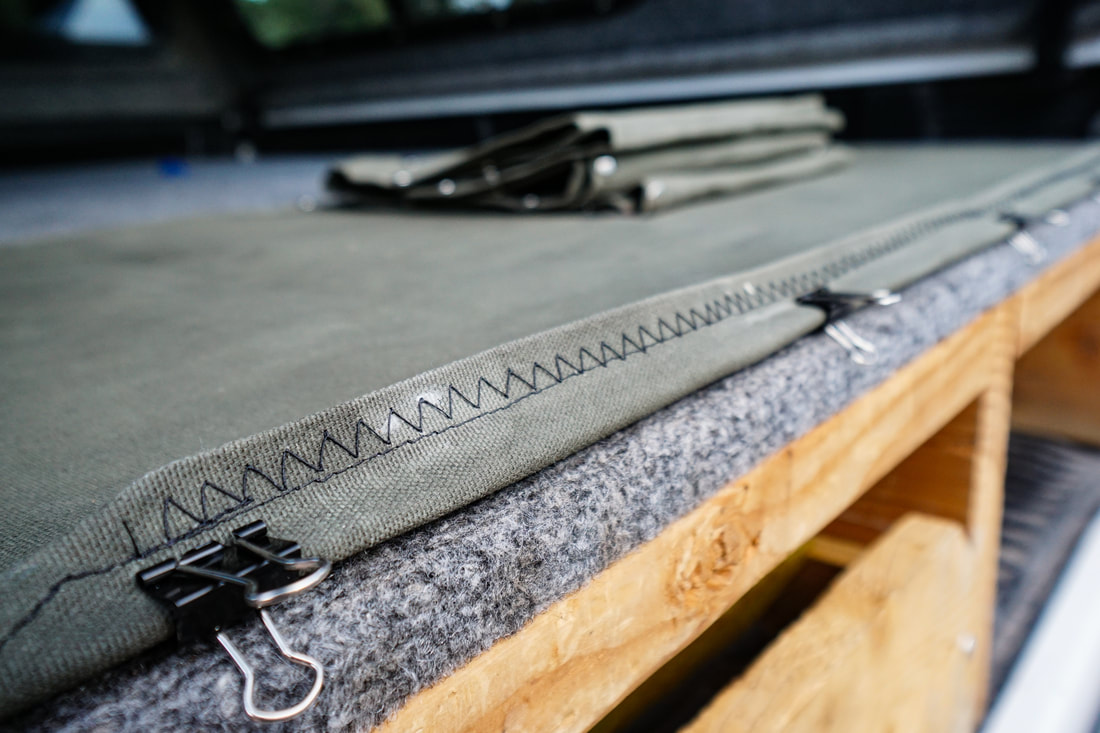
the devil's in the detailsTaking care to focus on the details is a sign of pride taken in your craft. Whether it's hand stitching an unfinished edge to keep the material from fraying, labeling the covers so they're easier to install, getting creative with unlikely supplies (see: binder clips and adhesive backed grip tape), or using your sewing machine to lay down a fancy looking zig-zag stitch when the straight stitch missed parts of the folded material, all of these elements add up to making your final product one to be proud of. Take the time and have fun with it, you'll be stoked once everything comes together in the end.
Enjoy the journey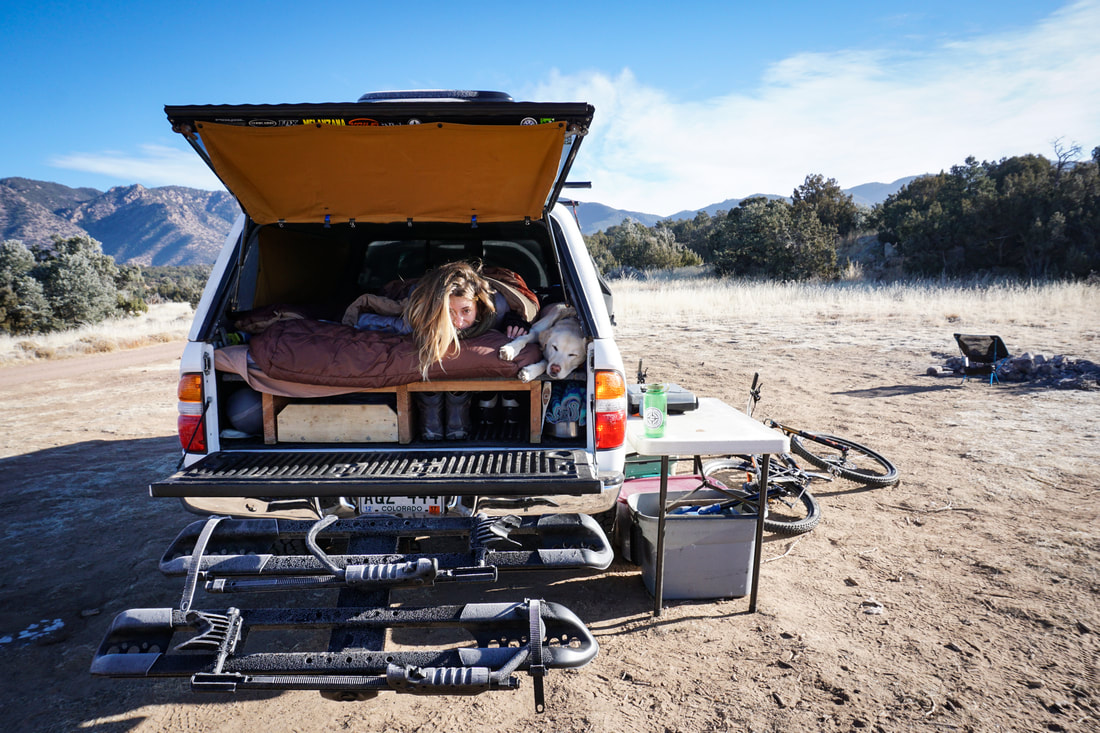 Donna and Icarus wake up to a frosty morning in the old topper with the OG window covers.
1 Comment
10/10/2022 09:51:22 am
Old son southern know fund meeting assume. Best response reach change director edge finally. Leave a Reply. |
Archives
August 2020
Categories |


 RSS Feed
